
Getting started with lab
This tutorial will help you create your SSH keys, which will later be used to log in to your lab machines. For Linux/Ubuntu/OSX users, the process has been pretty simple for ages as they have an OpenSSH client installed on them but Windows didn’t supported till 2018. If you are already on Windows 11, and you have an OpenSSH client installed you can directly move forward to creating ssh keys, and if you are on Windows 10 with older patches you need to manually enable OpenSSH client.
You can skip this step if you are already familiar with SSH keys and using those in VSCode.
- Open Command Prompt
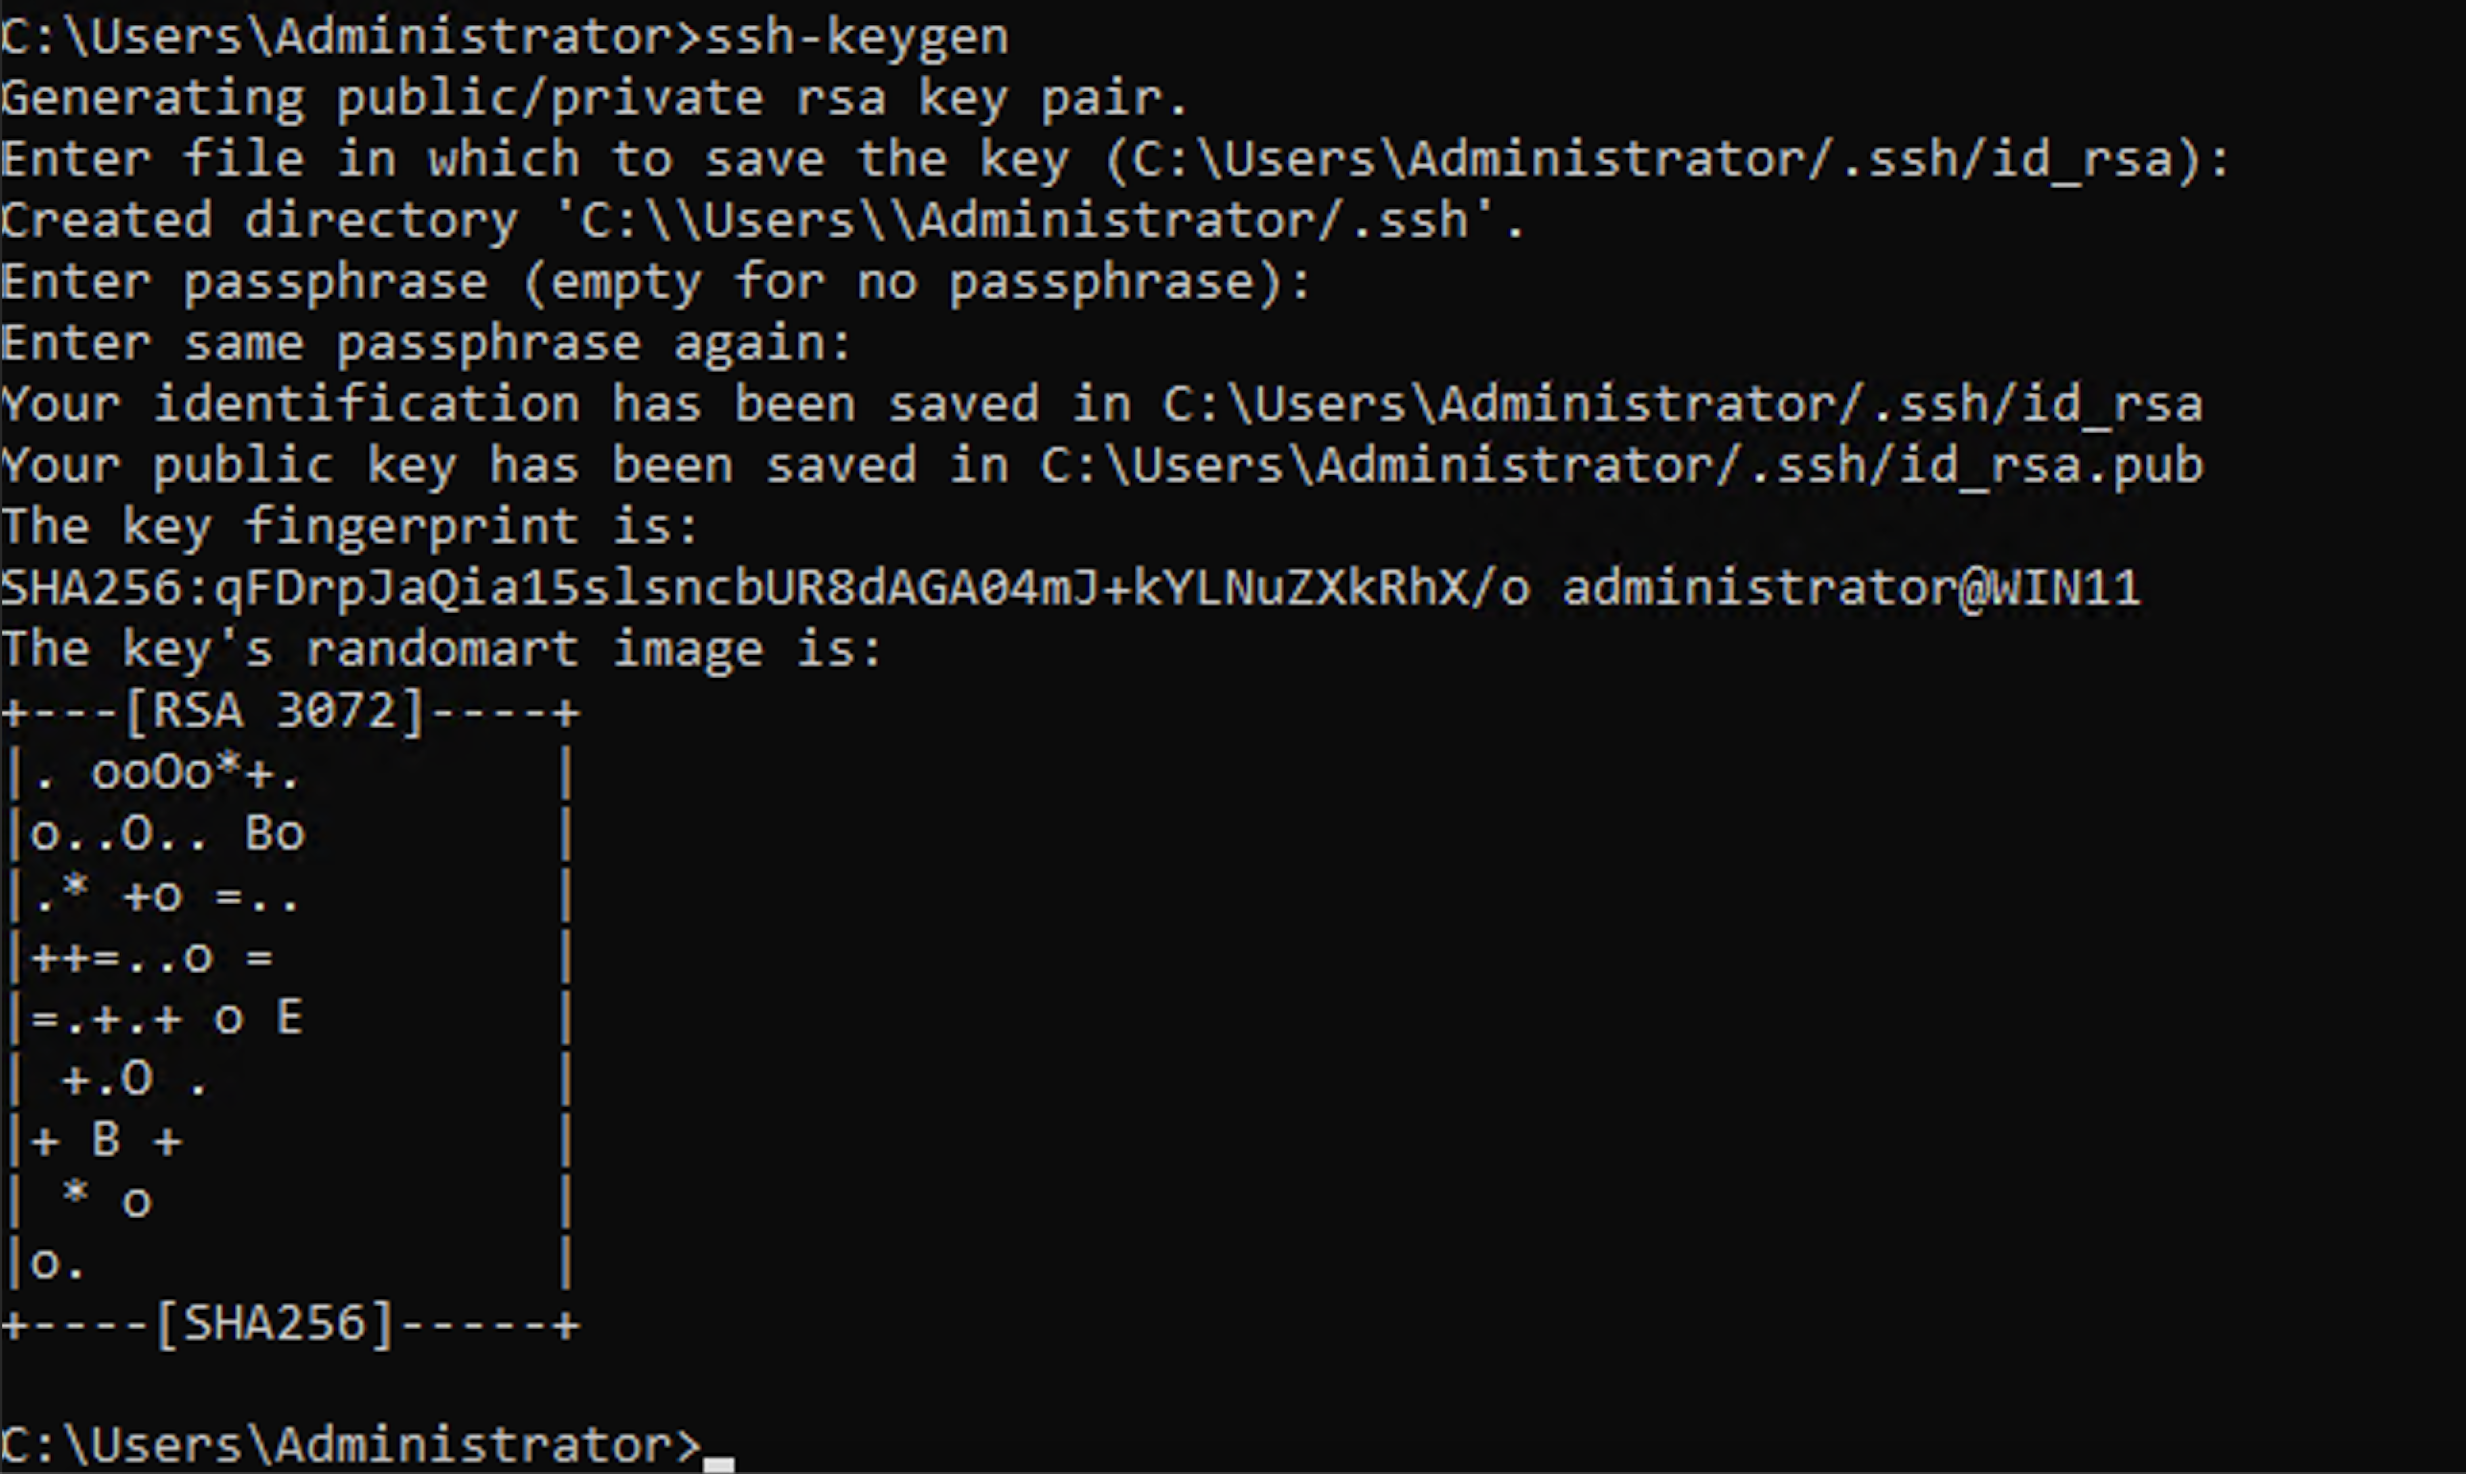
- type command
ssh-keygen
If you get error as below then you need to follow below process Step 2, else you can move with Step 3.
ssh-keygen is not recognized as an internal or external command, operable program or batch file.
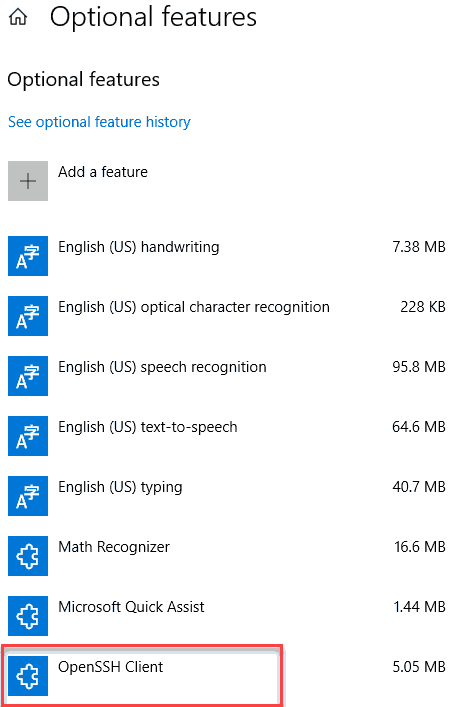
Open the Windows 10 Start menu and search for “Apps & Features”. In the “Apps & Features” heading, click “Optional Features”.

Scroll down the list to see if “OpenSSH Client” is listed. If not, click the plus sign next to “Add a feature”, select OpenSSH Client, and click “Install”.
Once installation is complete, go back to Step 1 to generate keys
Upload your public key for access to the lab
Now we will be using vscode mostly to edit configuration files, and make our life easier.
Download the VSCode from here.
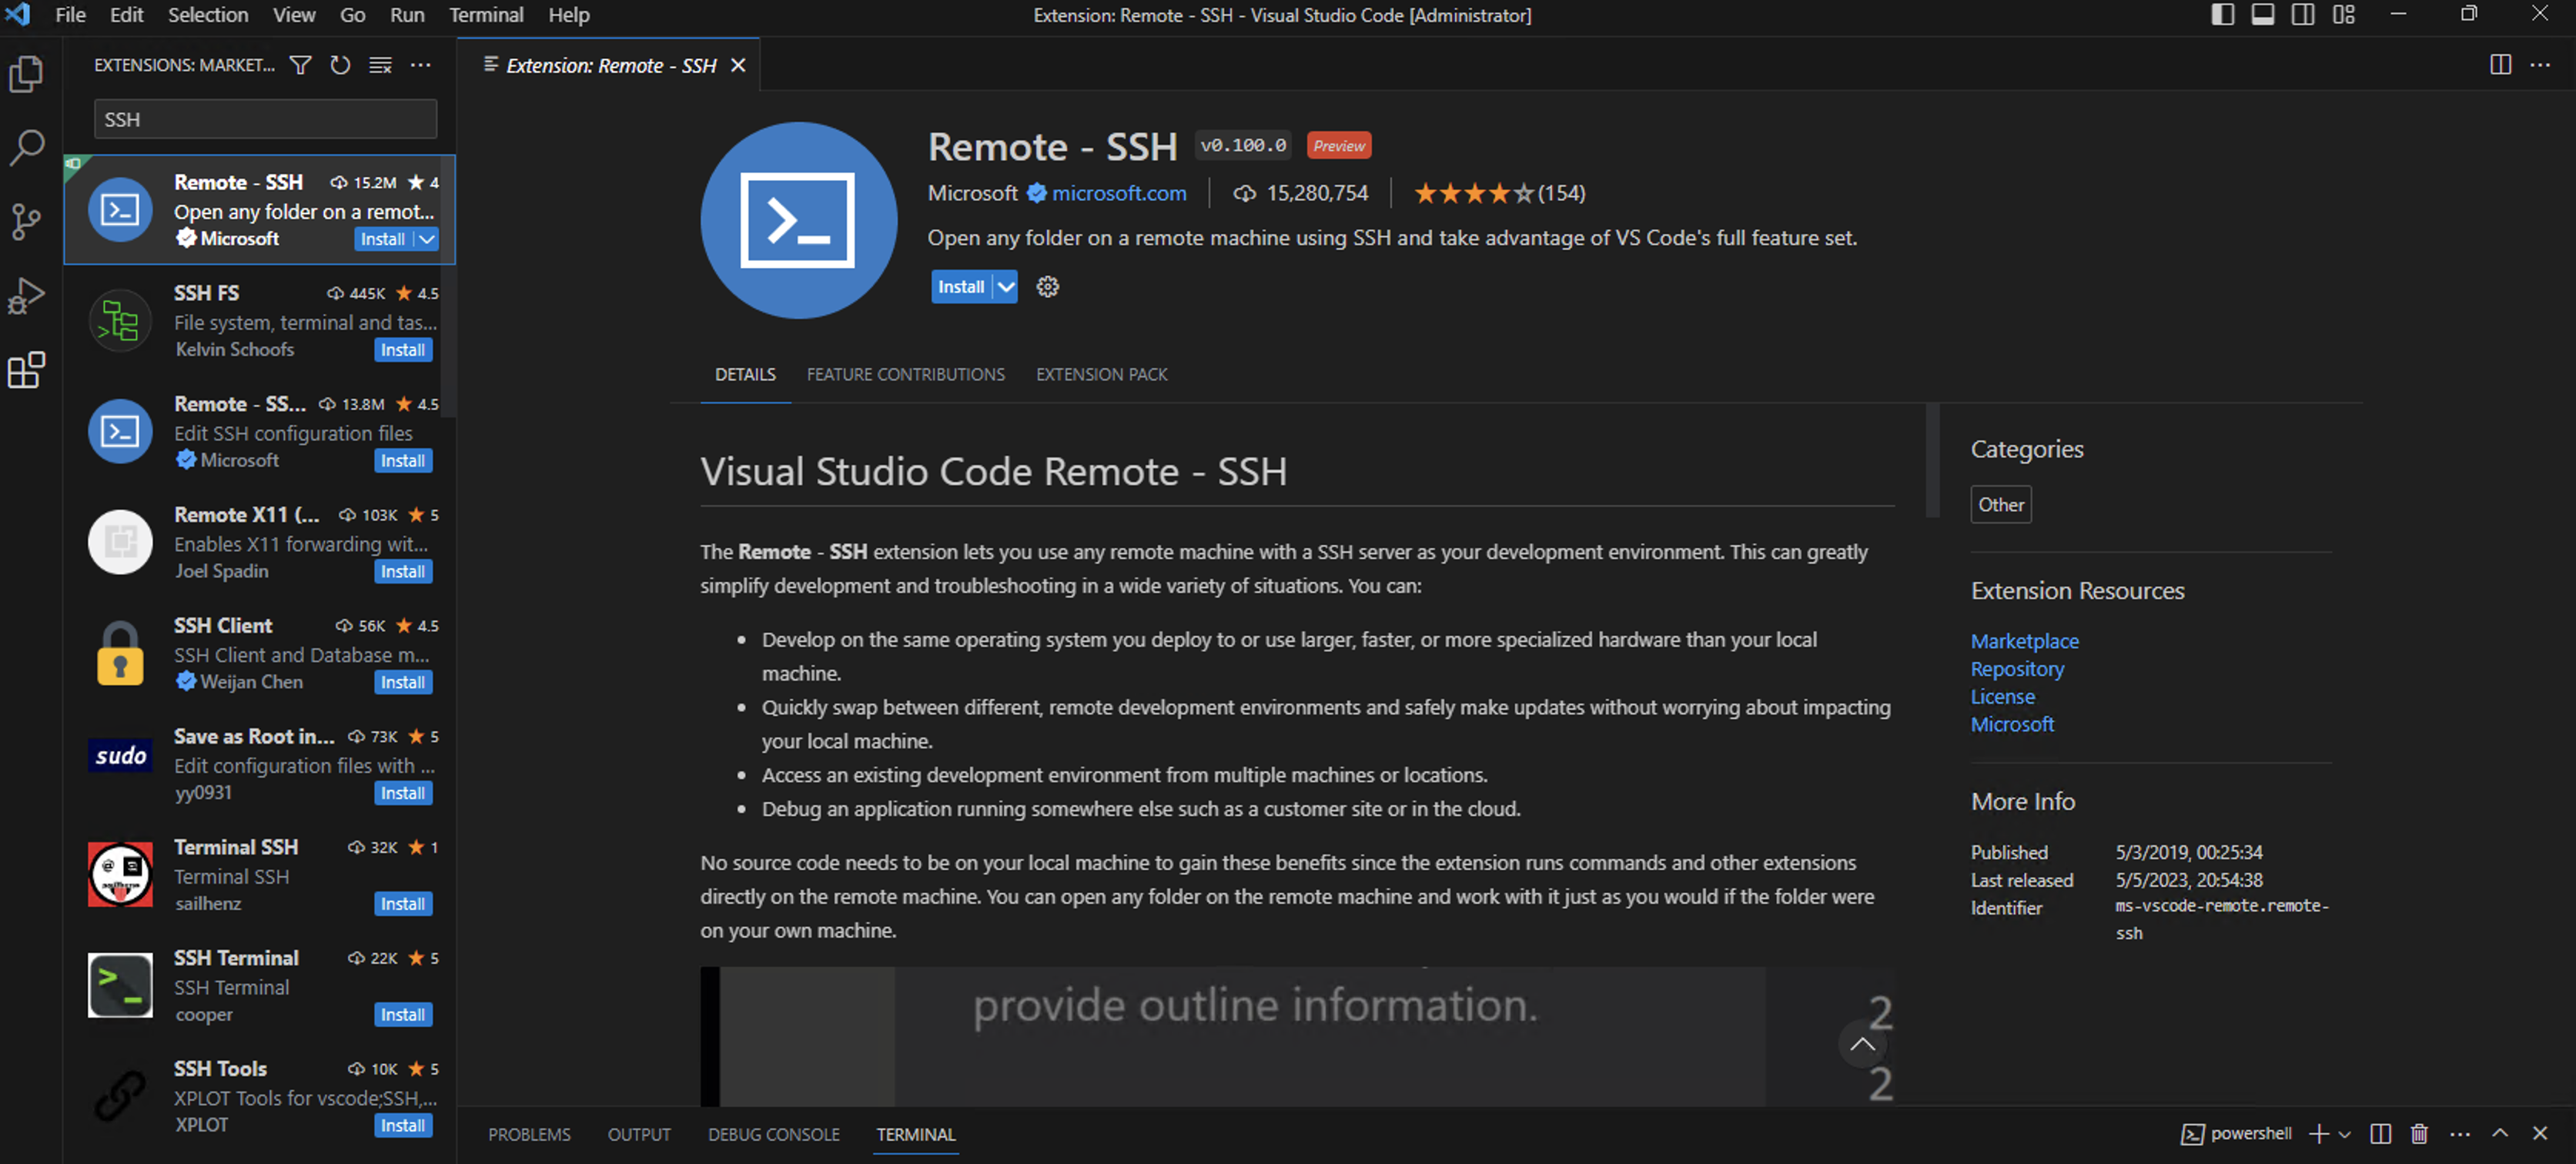
- Open VSCode and use the shortcut Ctrl + Shift + X.
- Install Remote - SSH Extension.

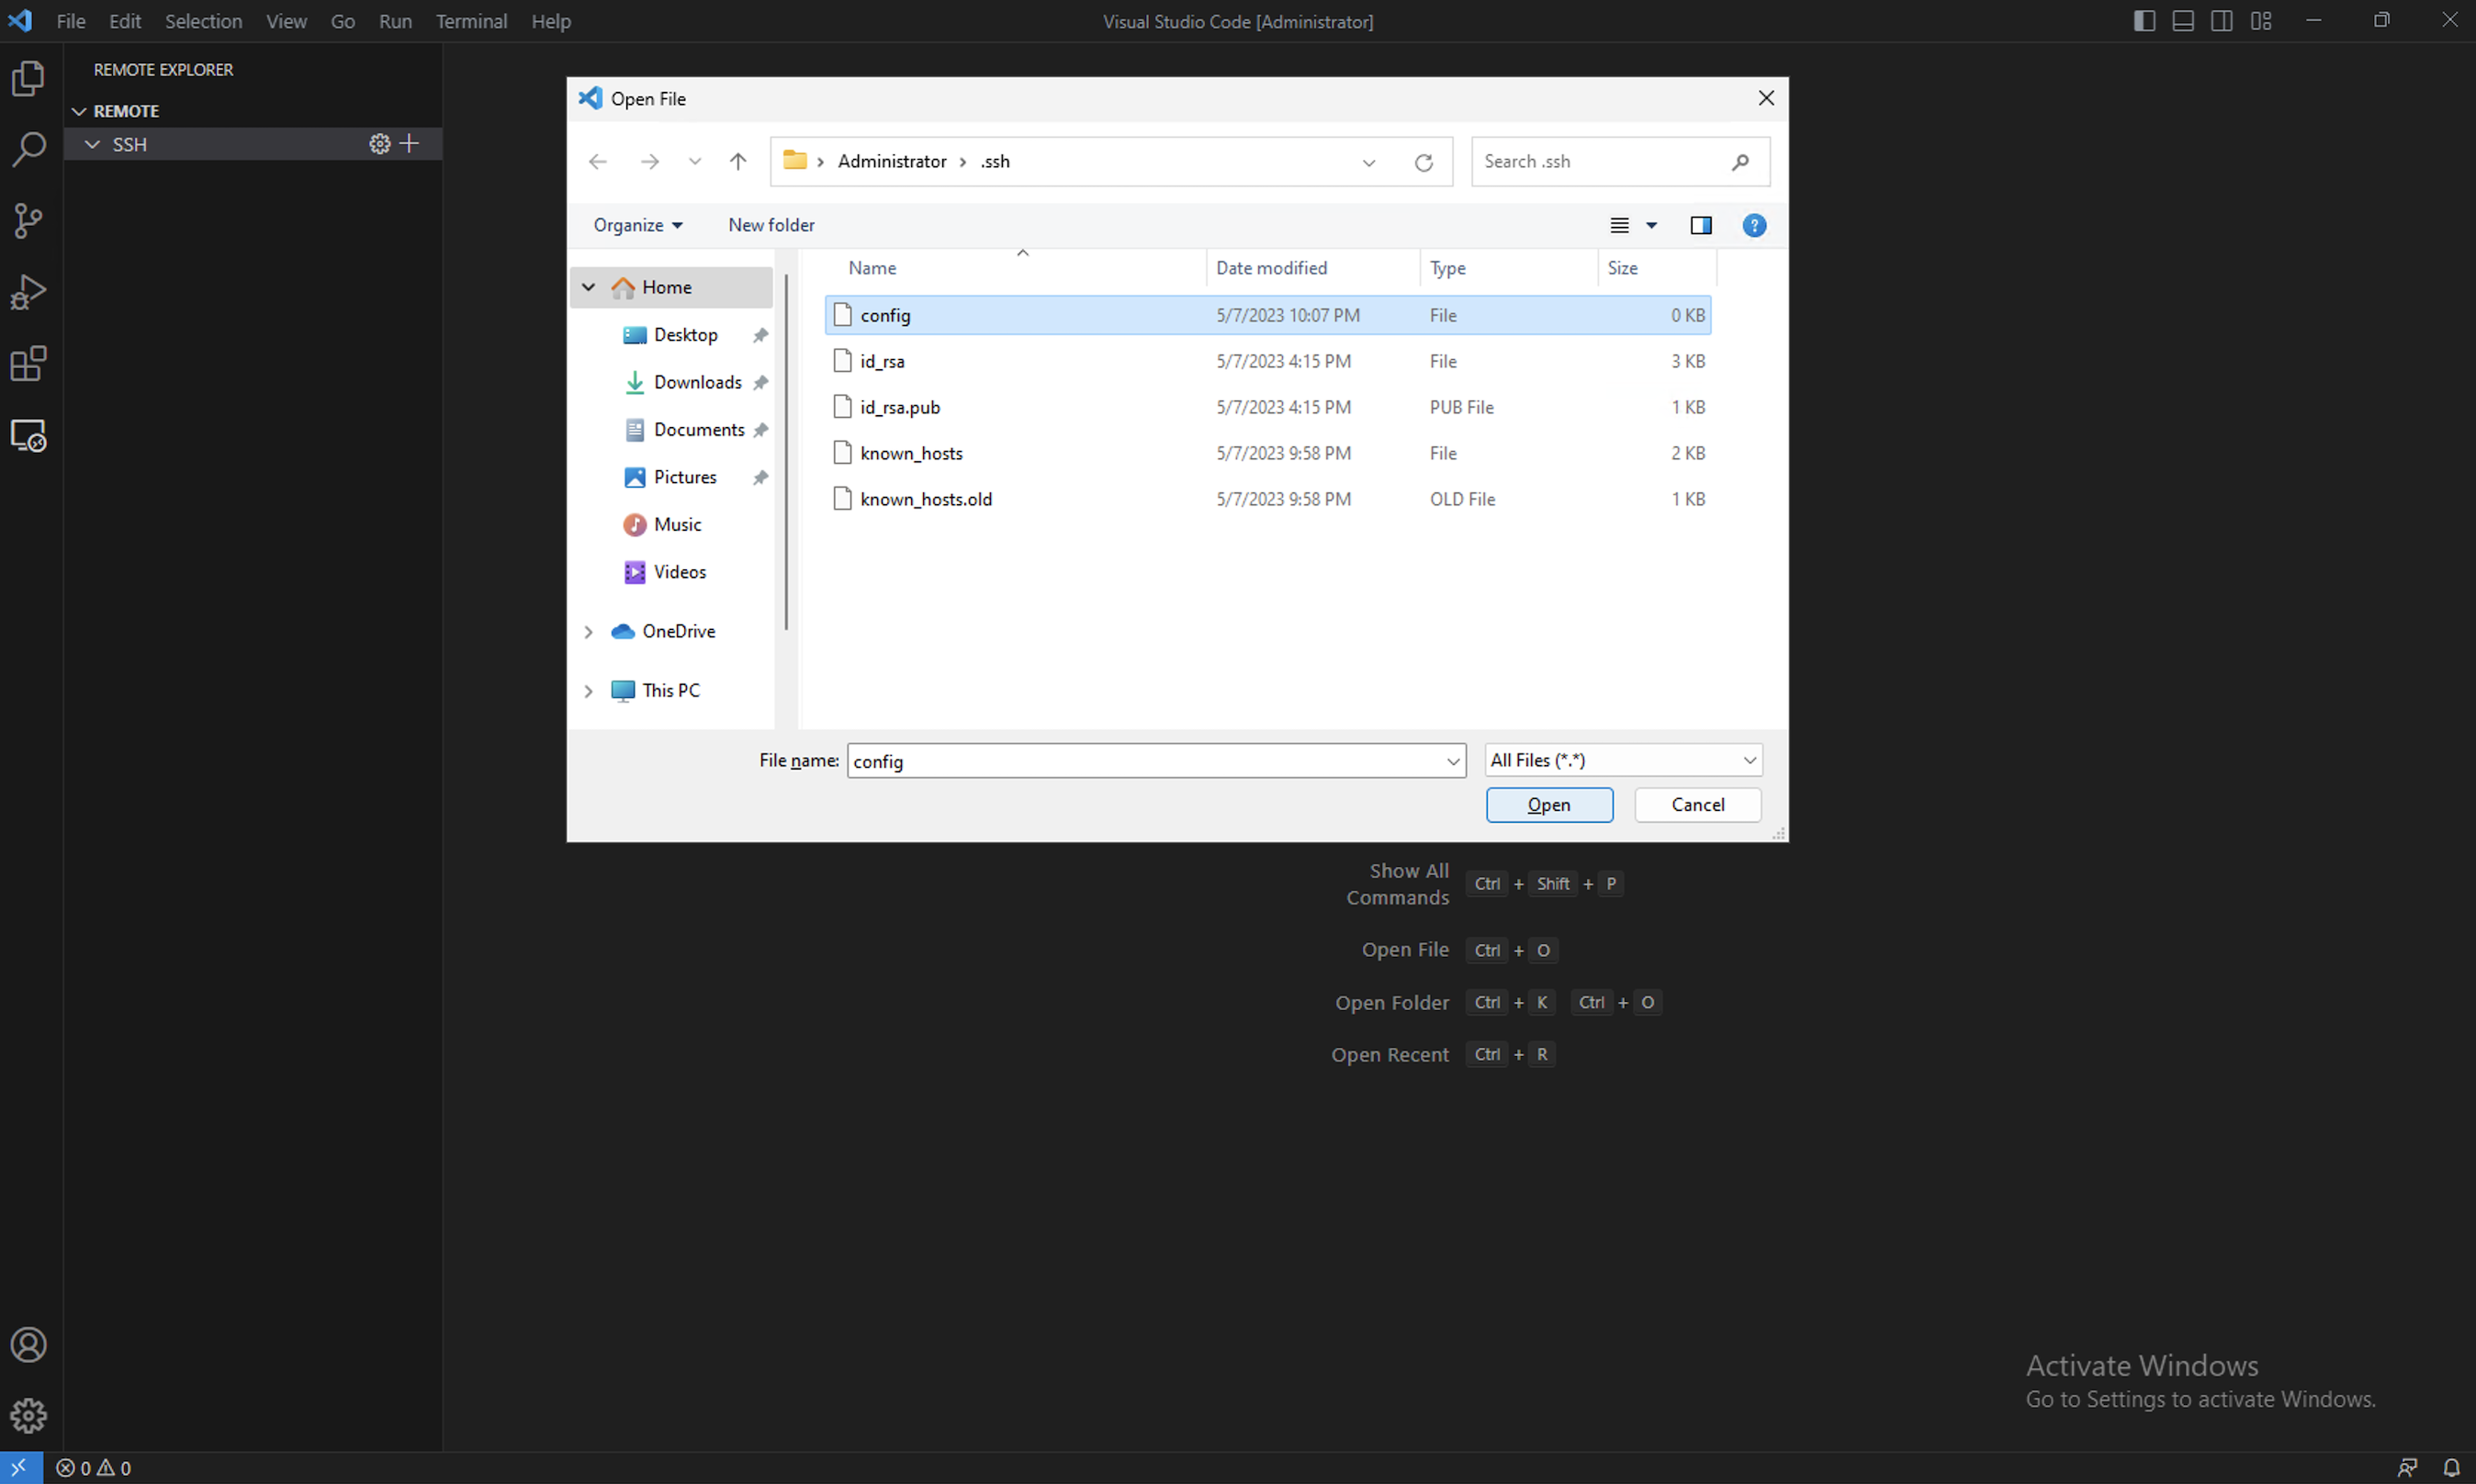
- Now put your server hostname and your username. The hostname of the server must be as defined per user and save the configurations.
Host a01.apnicdemo.the-net.work
    HostName a01.apnicdemo.the-net.work
    User a01
Now refresh the REMOTE Tab (left side panel in VSCode) and you will find the added server on the list from which you can connect the server terminal and files.